Backyard Homesteading Workshops
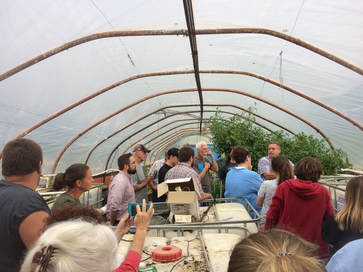
Our Backyard Homesteading workshops work to encourage the utilization of your backyard or unused green space for food production while creating wildlife habitat and conserving natural resources. We meet regularly throughout the year for workshops covering a wide range of backyard conservation topics.
If you would like to receive information about these workshops, please call us at 330-627-9852 or send us an email at amanda.tubaugh@carrollswcd.org so that we can include your name in our mailing list for the program.
Information for upcoming meetings can be found below.
If you would like to receive information about these workshops, please call us at 330-627-9852 or send us an email at amanda.tubaugh@carrollswcd.org so that we can include your name in our mailing list for the program.
Information for upcoming meetings can be found below.
Upcoming Workshops
Past Workshop Presentations
|
|
| ||||||||||||||||||
Review of 2018 Wildlife Workshop
Low Tunnel Production
|
Low tunnel production is used to extend the growing season for your garden. We have had a lot of interest in this topic at our meetings and have put together a list of supplies and instructions to construct your own low tunnel so that you and your family can enjoy fresh food out of the garden during more than just summer months!
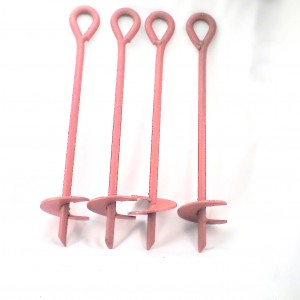
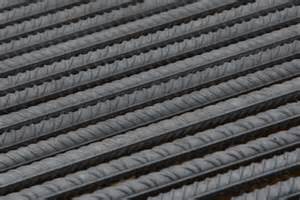
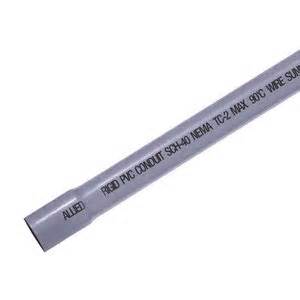
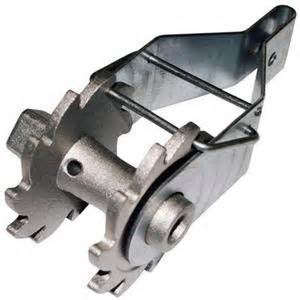
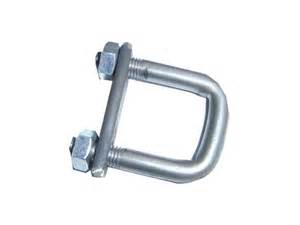
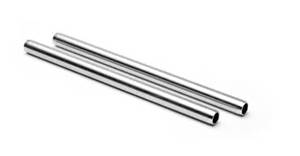
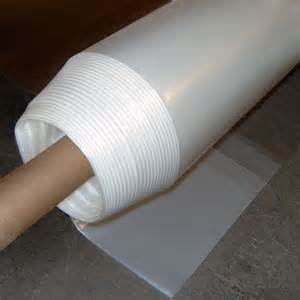
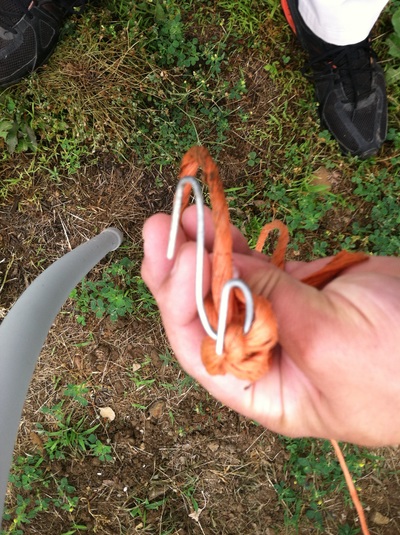
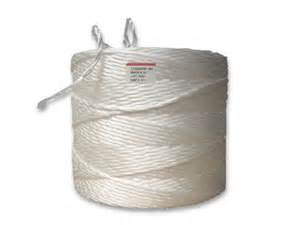
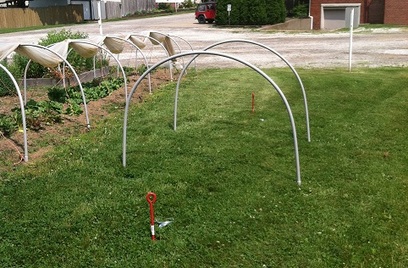
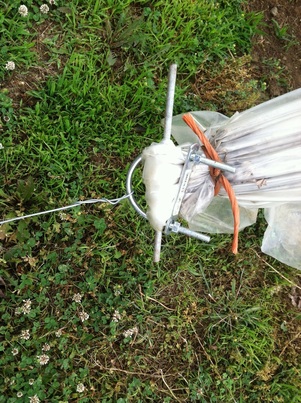
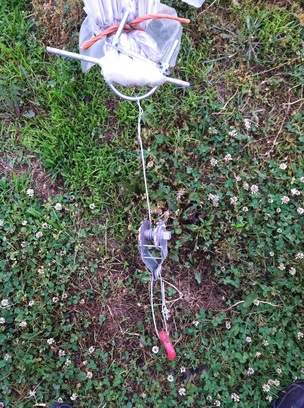
What you will need: 1. 2 Ground Anchors 2. 4 Pieces of Rebar per 5ft of tunnel desired (1/2'' X 30'') 3. 1 piece of Electrical Conduit for every 2 pieces of Rebar (3/4'' X 10') 4. 2 High Fence Ratchets 5. 2 U-Bolt 6. 2 Fence Pins 7. Green House Plastic 8. Number 9 Tie Wire 9. Poly Twine Tunnel sizes can be in five foot sections. The rebar will be placed in the ground five feet apart and five feet across to form a square that is 25 square feet. Just add two more pieces of rebar to extend the garden another five feet. Then place the conduit over two pieces of rebar to form a hoop (see picture to the right.) Screw in ground anchors about two feet from the end of the tunnel (red objects in picture to the right.) Spread the greenhouse plastic that is twelve feet wide and the length of your bed plus 20 additional feet over the conduit hoop, centering it. (ex: a 30ft. garden would need 50ft. of plastic.) At both ends of the plastic, you will use one U-Bolt, one fence pin, and one high fence ratchet. The extra ten feet of plastic that is hanging out past the end of hoops on each end will be used to reinforce it to the anchor. Step one: bunch your plastic as if you were putting it in a pony tale and the U-Bolt will serve as the pony tale holder. Pull the plastic through the U-Bolt, Take the fence pin and wrap the plastic outside of the U-Bolt, around the fence pin, and back through the U-Bolt (shown to the right.) Tighten the U-Bolts as tight as possible so that the pin and the plastic are not able to pull loose. Tie a piece of poly twine around the folded plastic to reinforce. Attach Number 9 Tie Wire to the U part of the U-Bolt, hooking it to the ratchet and hooking the ratchet to the ground anchor. Repeat step one on the opposite end of the tunnel, pulling the plastic tight so there are no wrinkles along the tunnel. Step two: Make sure your plastic is fully extended and touching the ground on both sides on the tunnel. Make a hook (picture 8 for supplies) using the number 9 tie wire and hook one end under each piece of conduit and the other end will attach to two pieces of poly wire. The two pieces of poly wire will run all the way along the tunnel, criss-crossing from side to side forming an X along each five foot section of the tunnel. If you have any questions or would like to see a demonstration, please visit our office where we have a low tunnel installed. Our office also has examples for raised beds, herb mounds, pollinator garden, and a handicap garden bed. |
|

